Legacy System Migration Workbench (LSMW), the tools for upload Master Data, Transaction Data, etc from templates to SAP ECC/SAP S4HANA, CAR, BW…
LSMW very helpful that functional consultant and technical consultant can upload huge data to SAP System.
In this article, i will show you how LSMW work and do one example “Upload partner profiles” in SAP CAR system with “Batch Input Recording” option. Based on steps during example, you can do the same for others kind of document / object creation.
TCode: LSMW

[1] – Create LSMW Project, Sub-Project and Object
[1] Access TCode: LSMW -> [2] Create new Project ->[3] Enter Project Name and Description ->[4] Click create Project

[1] Enter Sub-Project and Descrition ->[2] Continue

[1] Enter Object Code and Name ->[2] Continue

Project, Sub-Project and Object created

Project was created, you can execute project to show next steps for detail definitions.

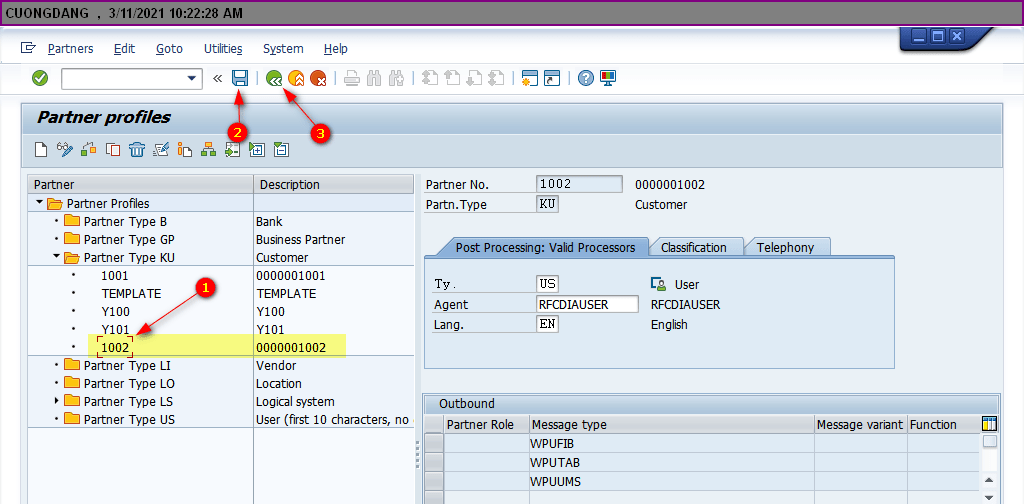
Before do “Copy Partner Profiles”, we need to create one partner profile as template, LSMW will record our copy partner profile action from template to new profile.
Partner Profile template as below is an example of outbound Sales (WPUUMS) / Payment (WPUTAB) and Financial transaction from SAP CAR to SAP ERP.
[1] Partner Profile Template ->[2] Message types

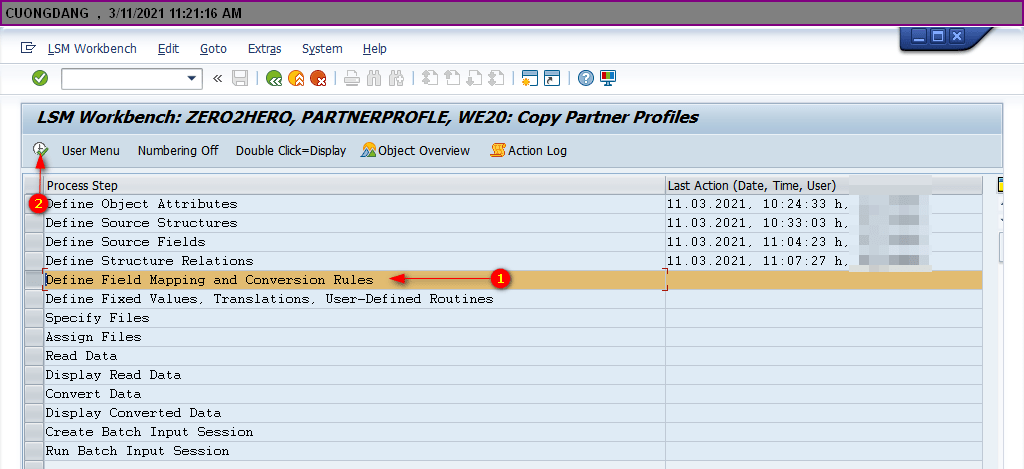
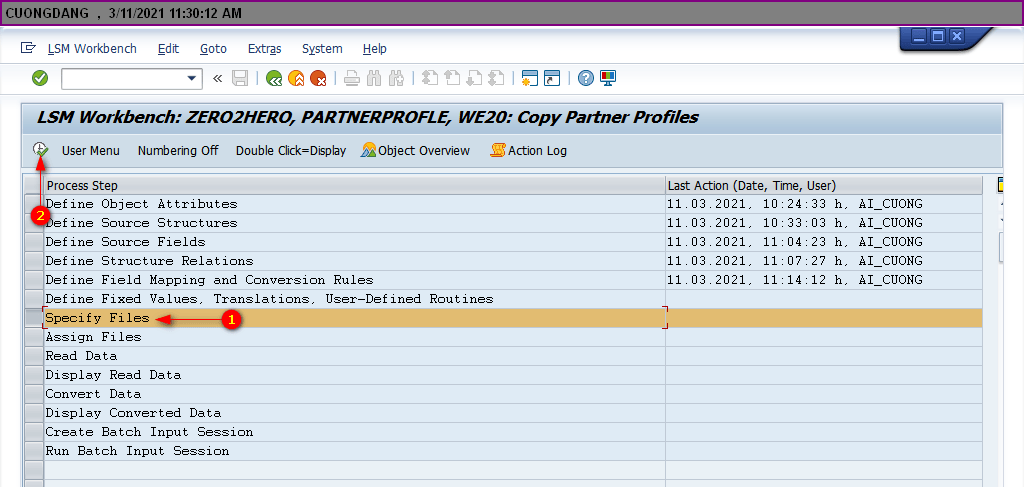
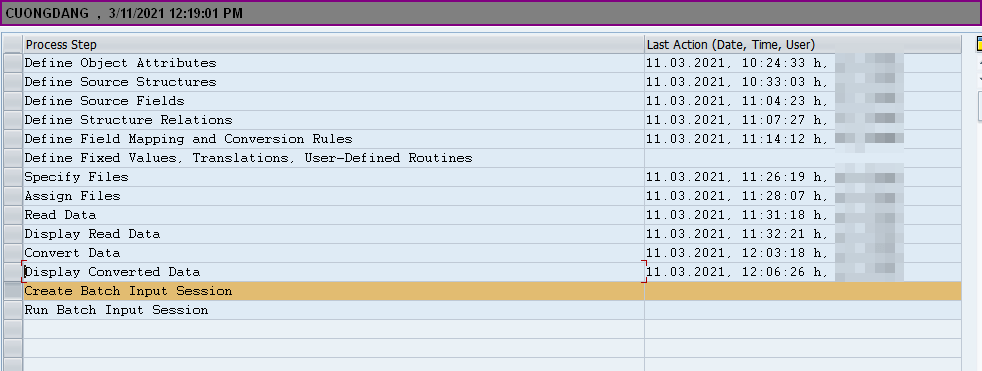
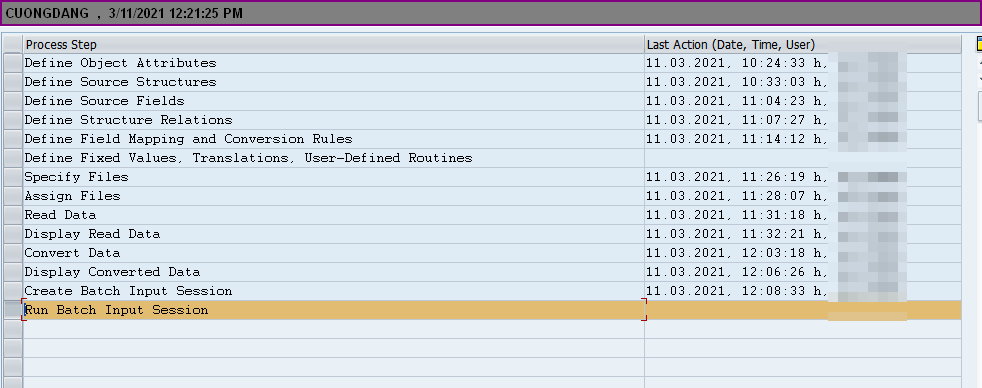
[2] – LSMW project steps
Define Object Attributes
Define Source Structures
Define Source Fields
Define Structure Relations
Define Field Mapping and Conversion Rules
Define Fixed Values, Translations, User-Defined Routines
Specify Files
Assign Files
Read Data
Display Read Data
Convert Data
Display Converted Data
Create Batch Input Session
Run Batch Input Session
[2.1] – Define Object Attributes
Access to your created project

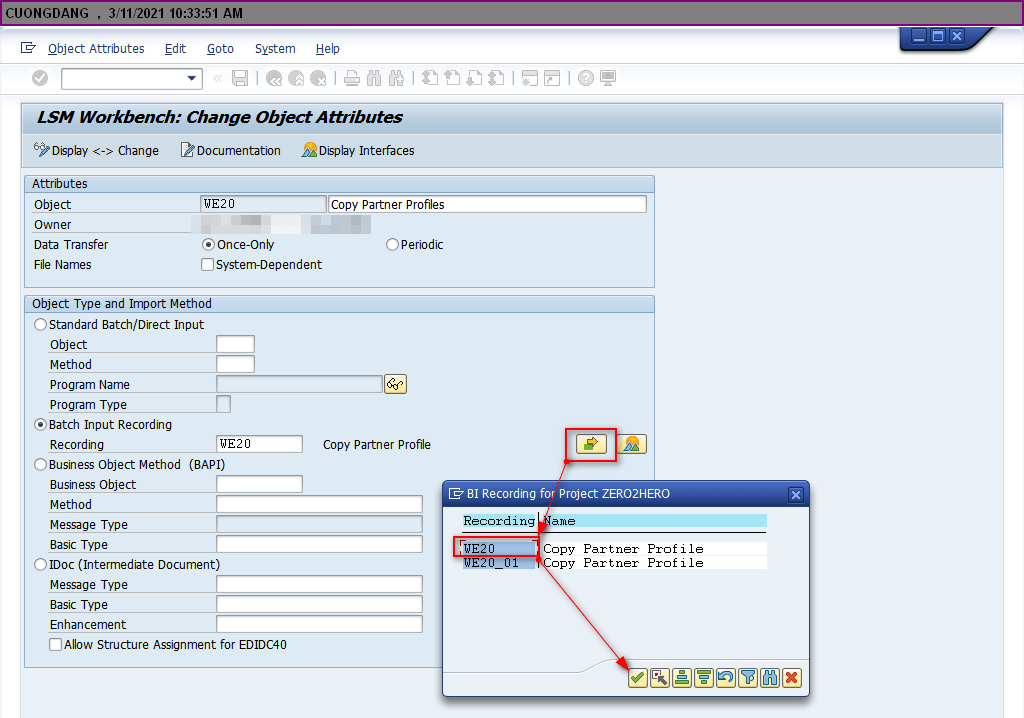
Select “Define Object Attributes”


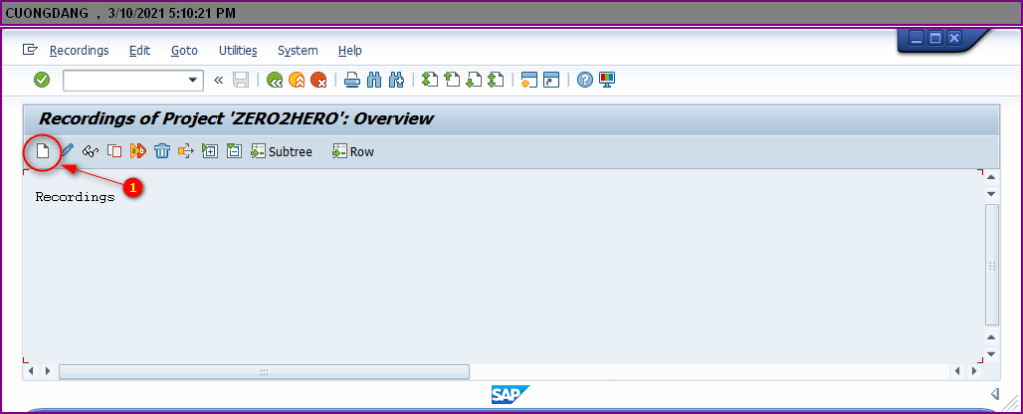
[1] Select “Batch Input Recording” -> [2] Recording: Overview

[1] – Create new recording
[1] Enter Recording and Description ->[2] Continue

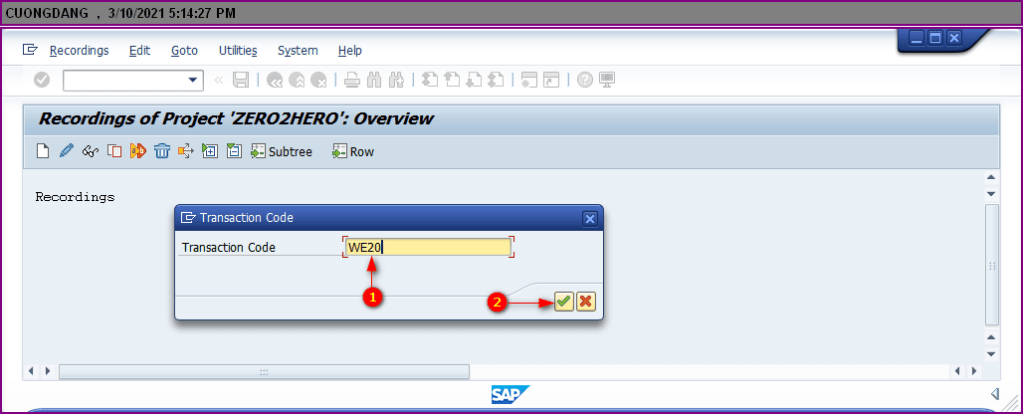
[1] – Enter Transaction Code you want to recording -> [2] Continue
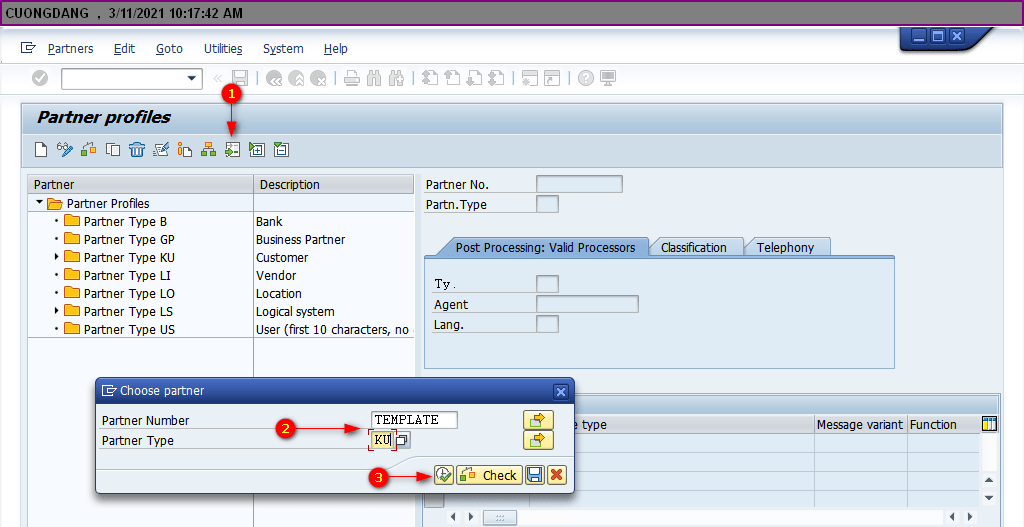
[1] Search partner profile ->[2] Enter Template profile ->[3] Continue
[1] Enter Partner No and Partner Type ->[2] Continue
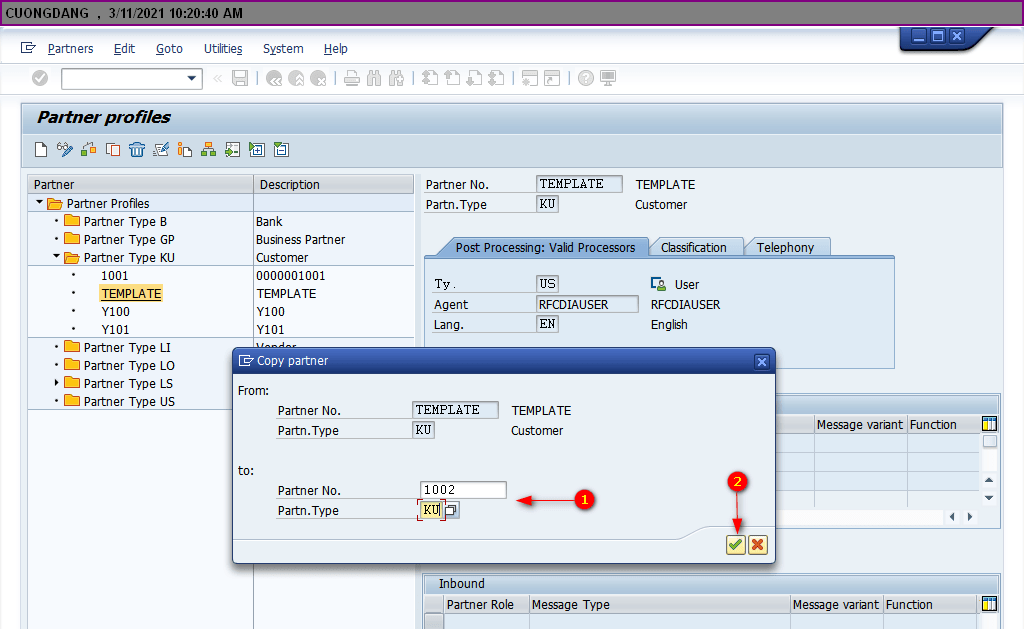
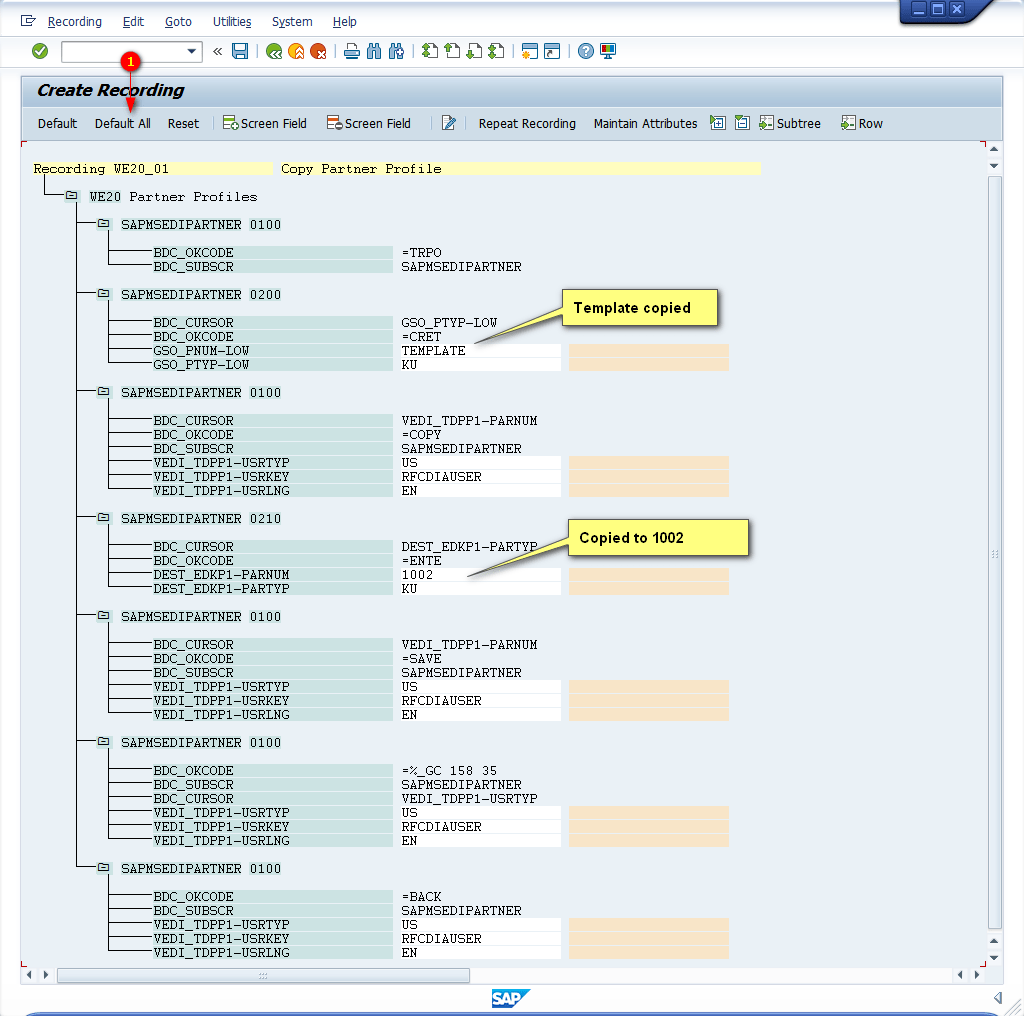
[1] Partner profile created -> [2] Save ->[3] Go back
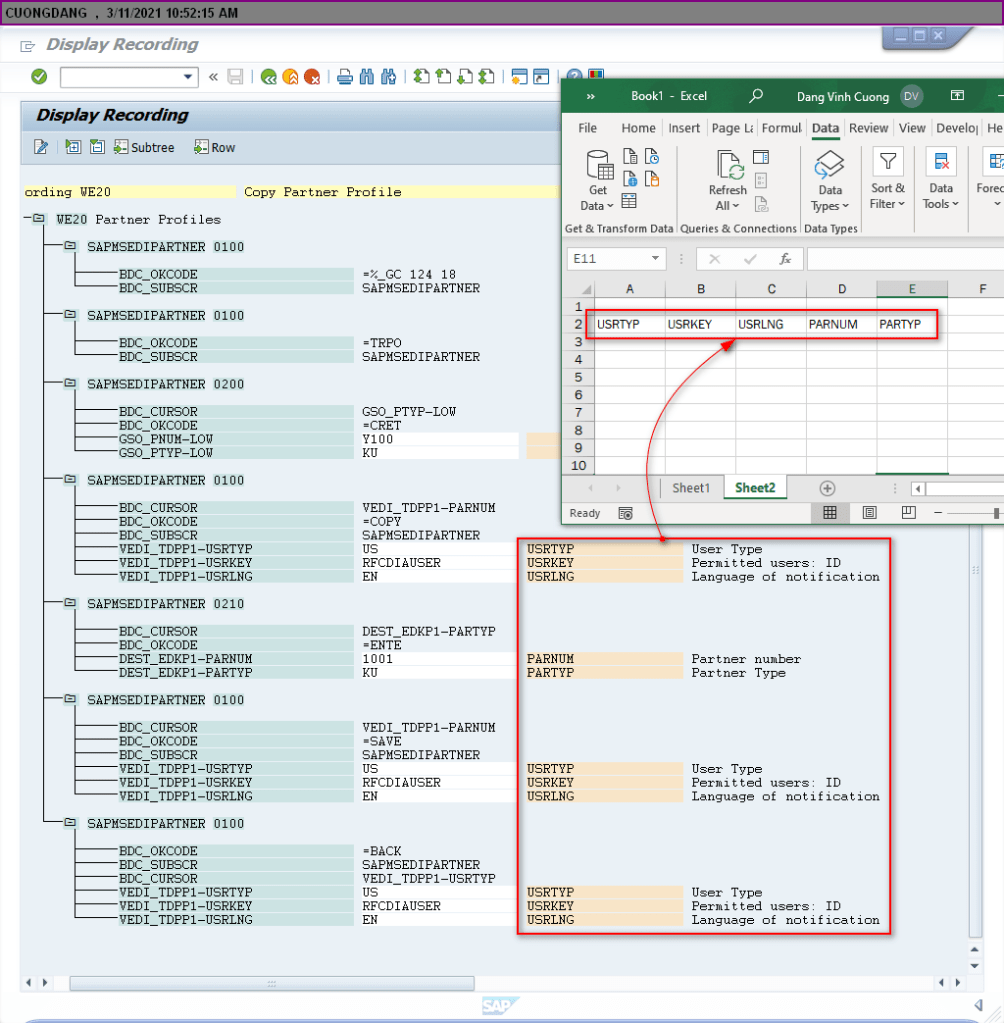
After completed copy partner profile, check to [1] “Default All“

Copy Fields to Excel with distinct fields
Select recorded batch
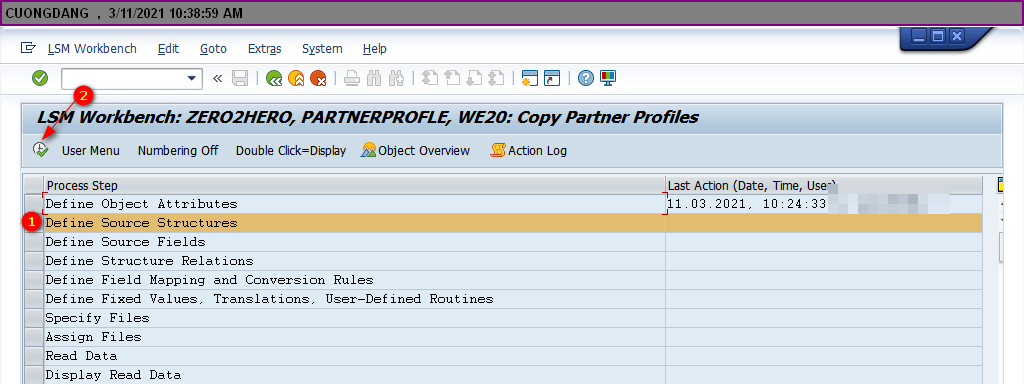
[2.2] – Define Source Structures
[1] Select “Define Source Structures” -> [2] Execute


[1] Save -> [2] go back

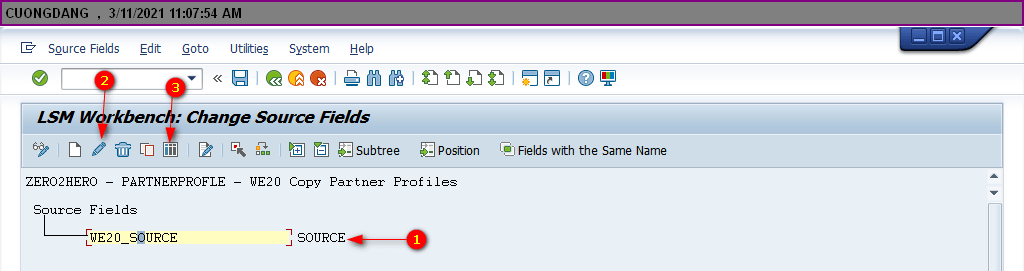
[2.3] – Define Source Fields
[1] Select “Define Source Fields” ->[2] Execute

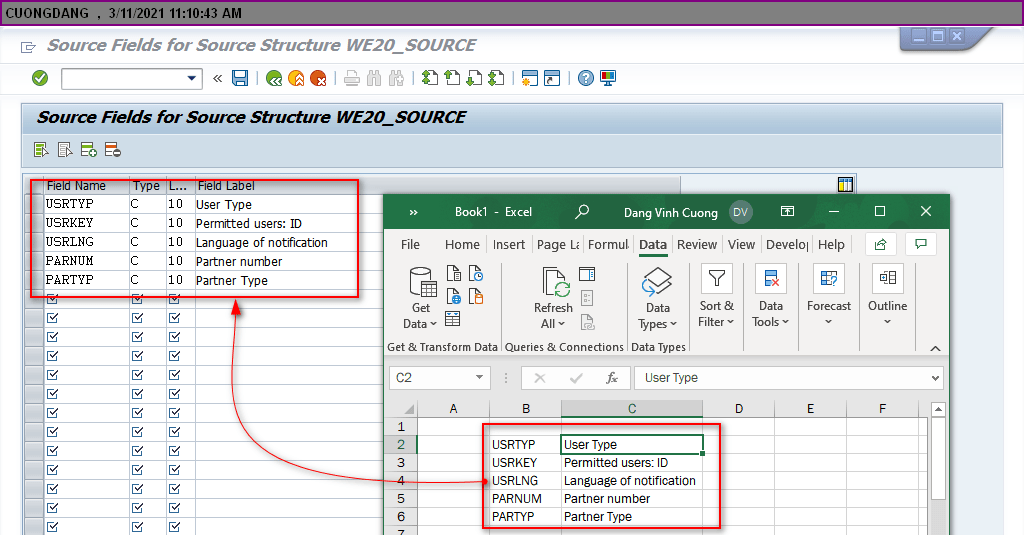
[1] Select Source fields ->[2] Edit ->[3] Display fields as tables
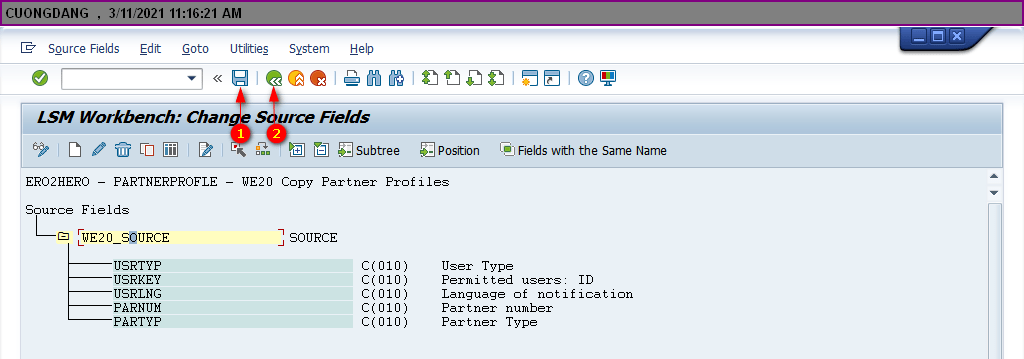
Enter fields what you copied from previous steps.
[1] Save ->[2] Go back
[2.4] – Define Structure Relations
[1] Select “Define Structure Relation” ->[2] Execute

[1] Create new “Relationship” ->[2] select “Structure Relationship”

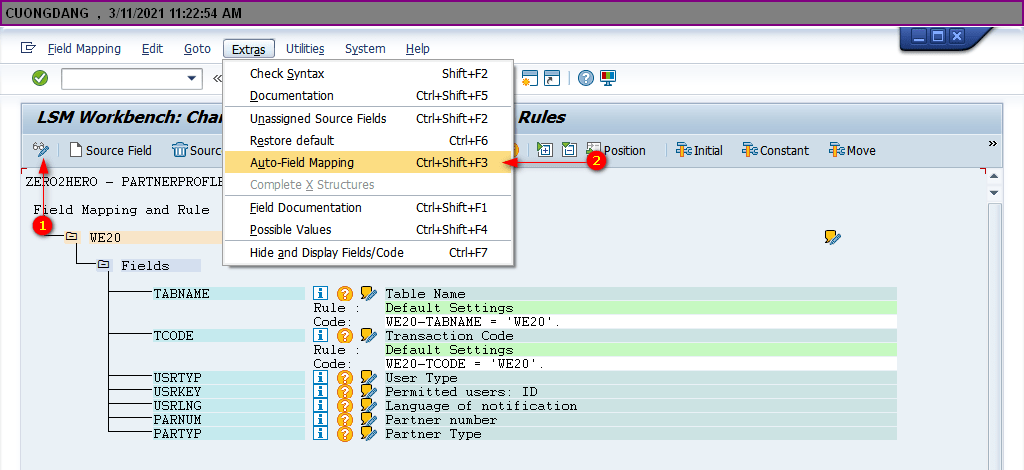
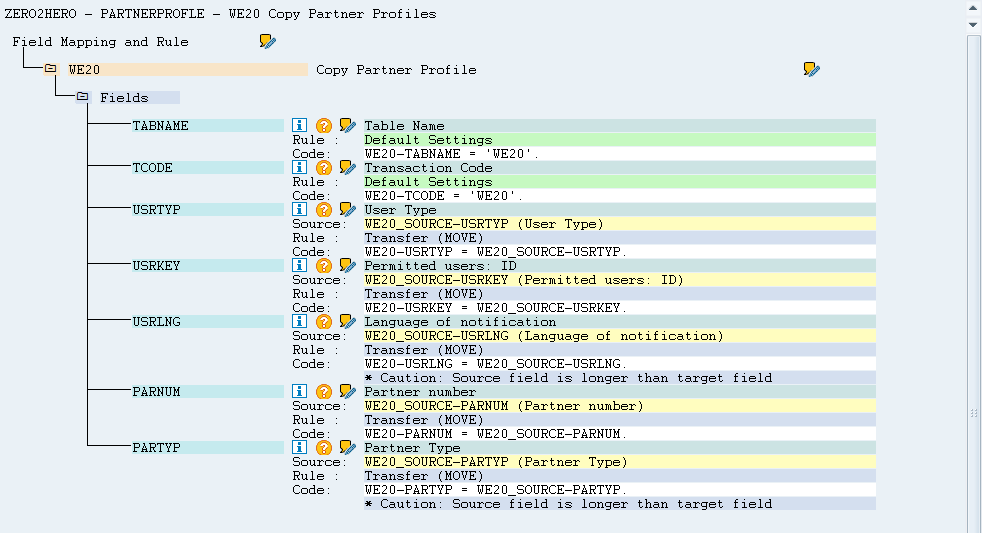
[2.5] – Define Field Mapping and Conversion Rules
[1] Select “Define Field Mapping and Conversion Rules” -> [2] Execute
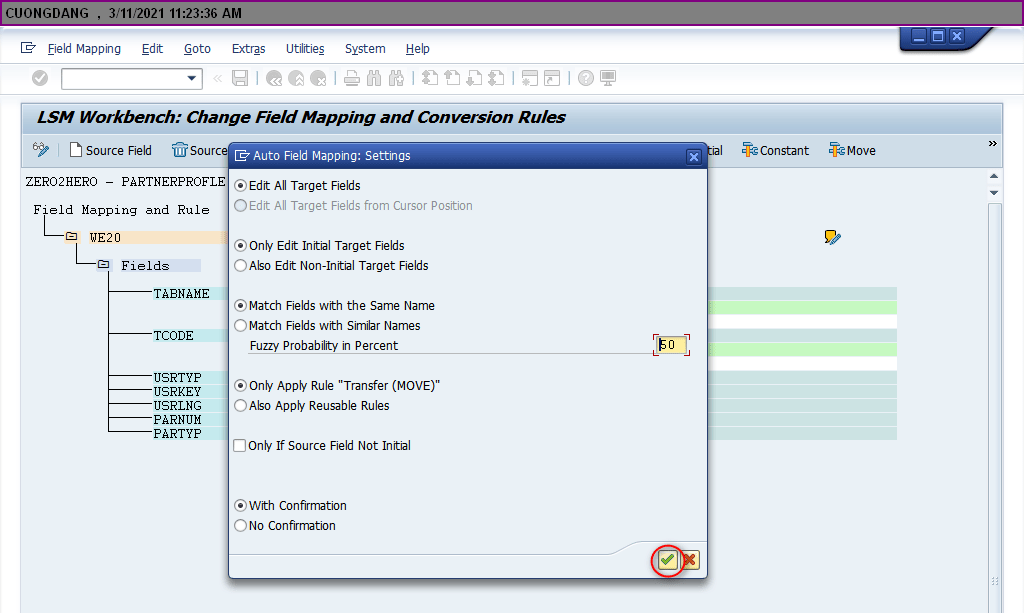
[1] Edit -> [2] From menu “Extras” select “Auto-Field Mapping”


[2.6] – Define Fixed Values, Translations, User-Defined Routines
[1] Select “Define Fixed Values, Translations, User-Defined Routines” ->[2] Execute

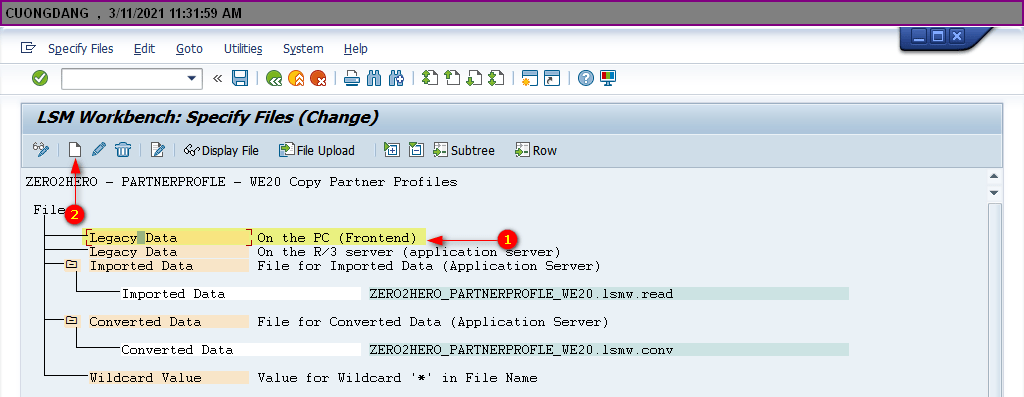
[2.7] – Specify Files
Copy data from Microsoft Excel template to *.txt file.

[1] Select “Specify Files” ->[2] Execute
[1] Select “Legacy Data on the PC(Frontend)” ->[2] Create new
[1] Select *.txt files which copied from Excel ->[2] Select “Tabulator”

[2.8] – Assign Files
[1] Select Source Structure ->[2] Assignment

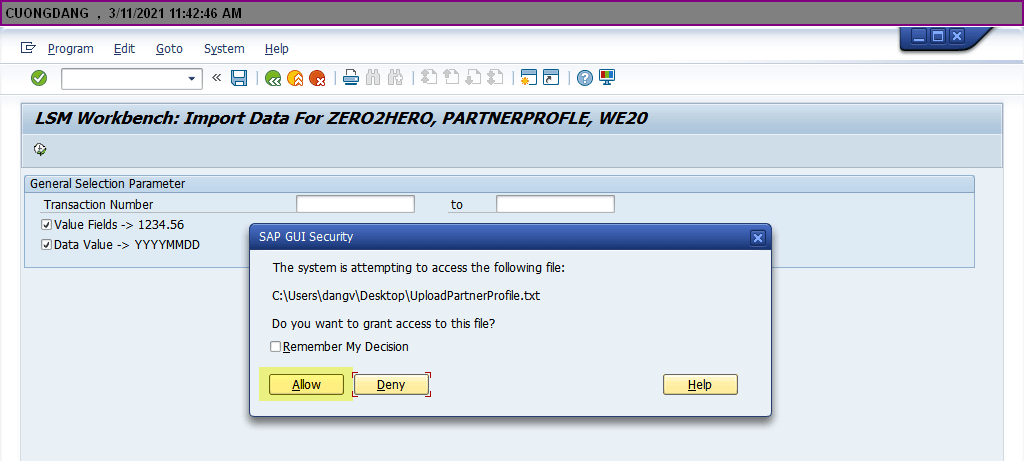
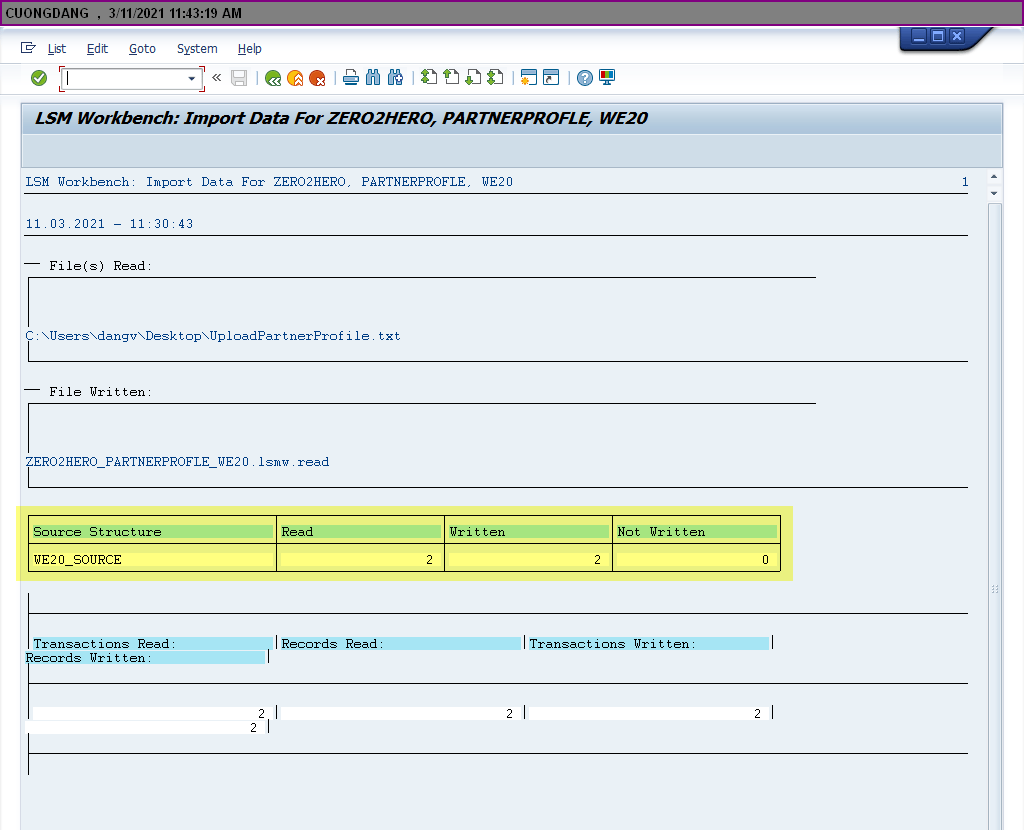
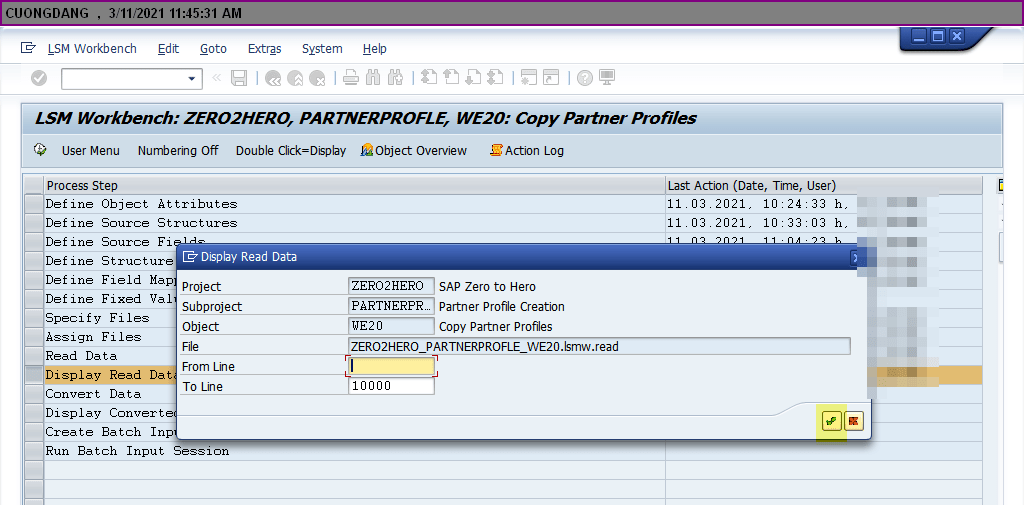
[2.9] – Read Data


[2.10] – Display Read Data


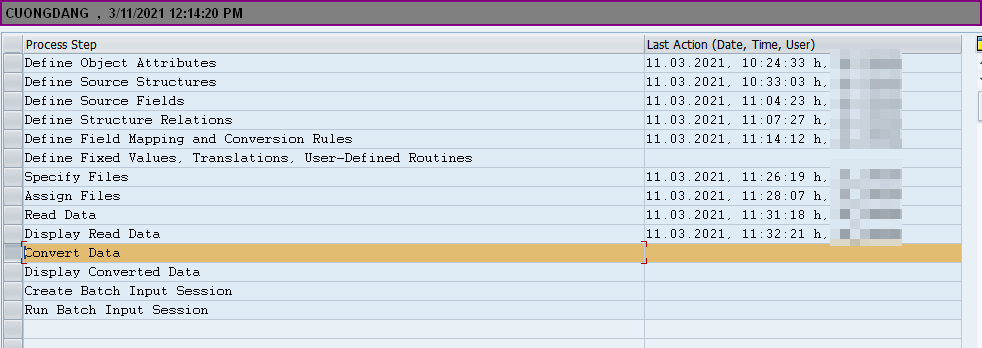
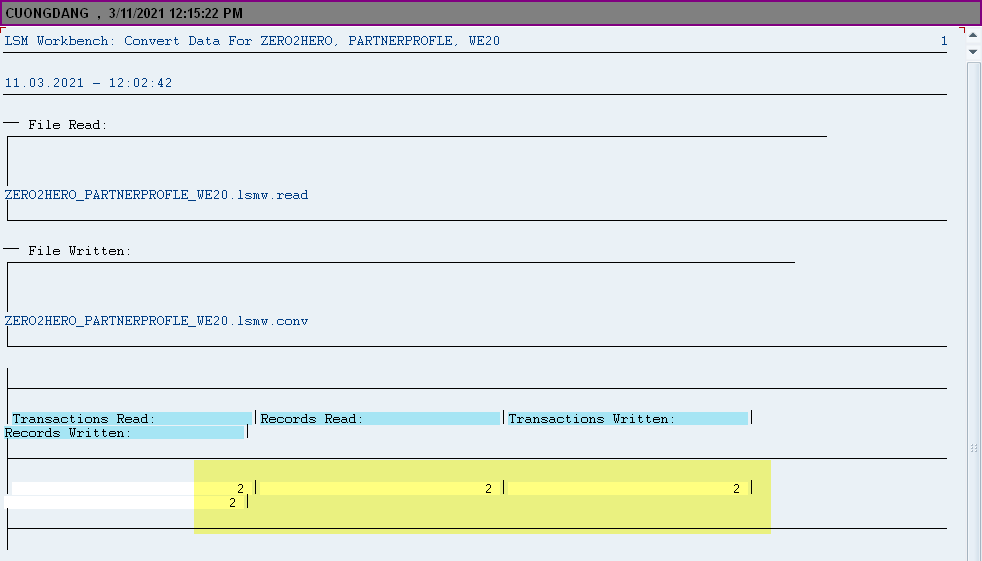
[2.11] – Convert Data

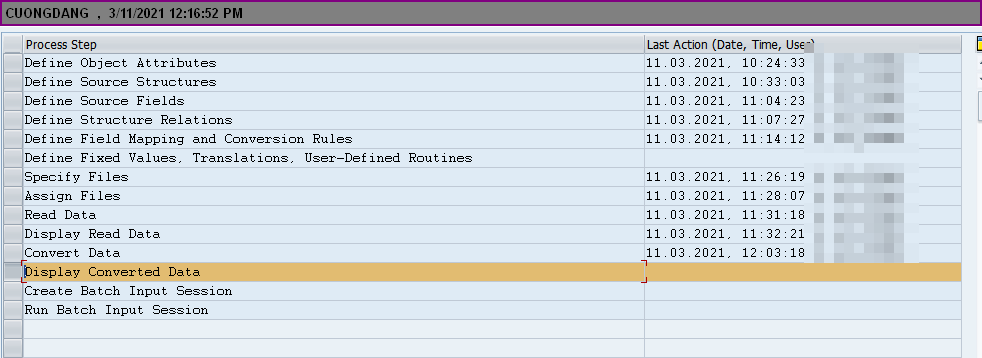
[2.12] – Display Converted Data


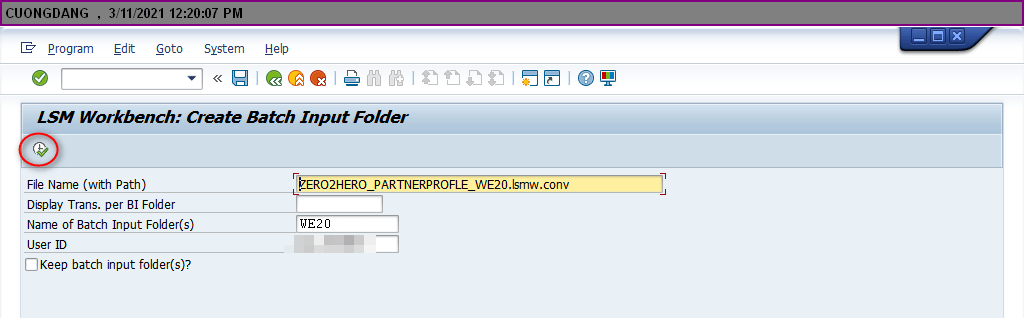
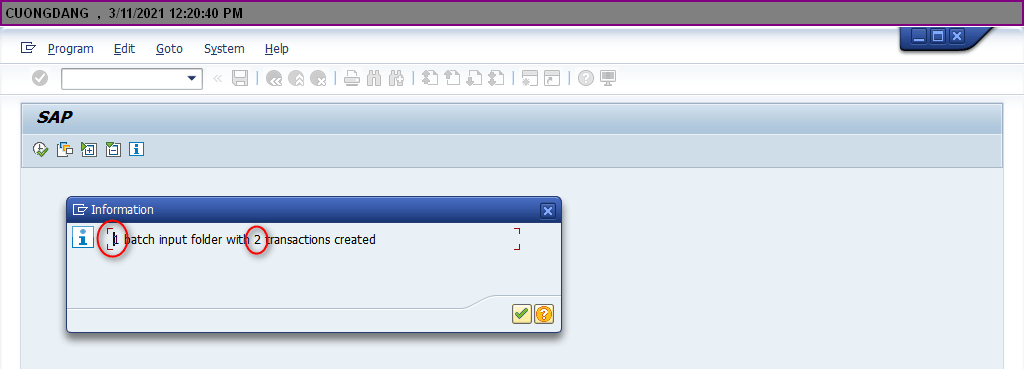
[2.13] – Create Batch Input Session
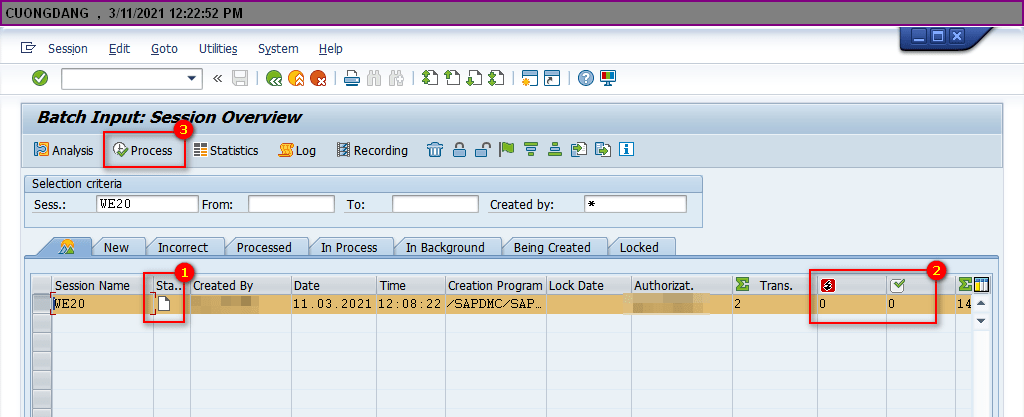
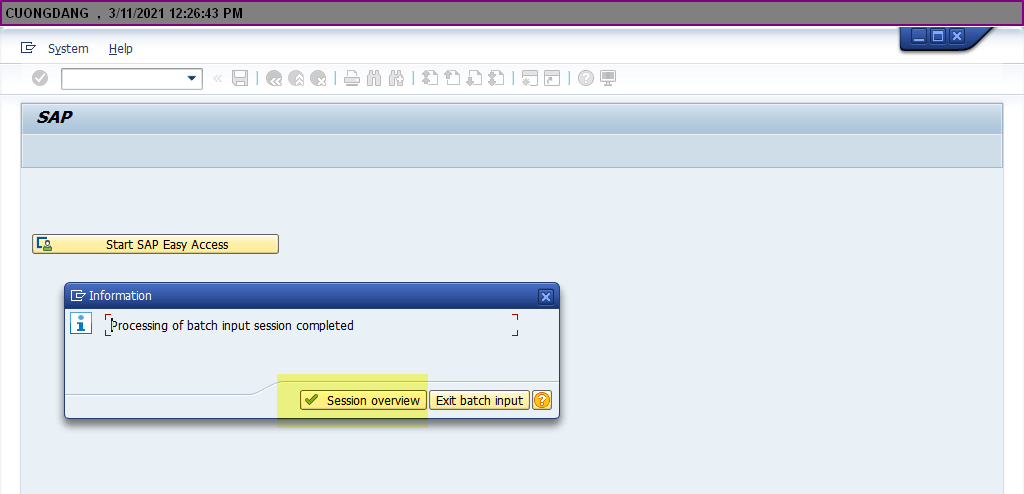
[2.14] – Run Batch Input Session
[1] Status of input batch ->[2] Number of records processed and error ->[3] Process upload
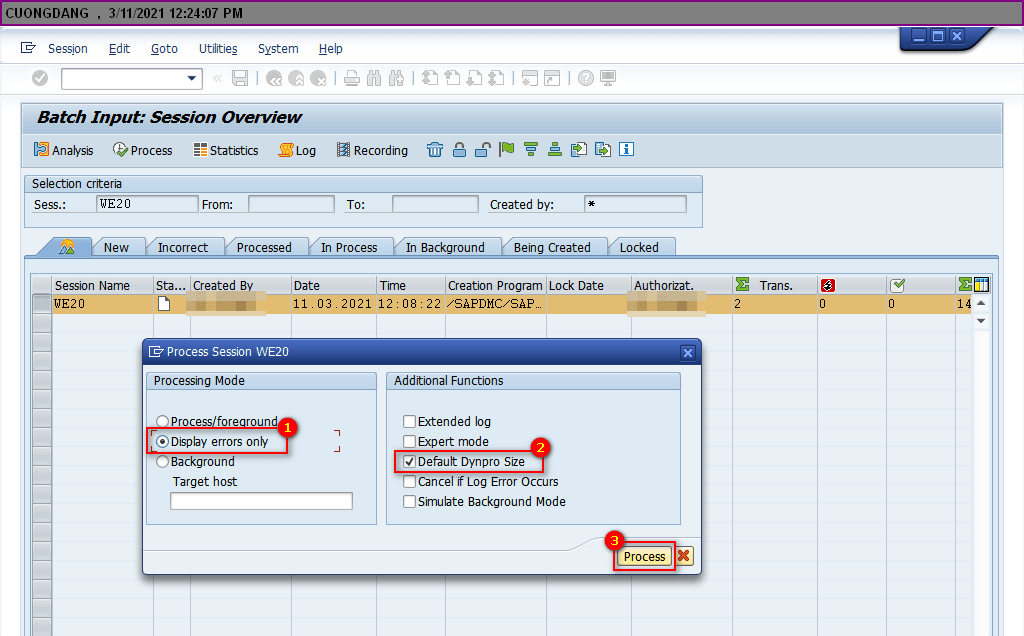
[1] Select “Display errors only” -> [2] Check “Default Dynpro Size” ->[3] process upload
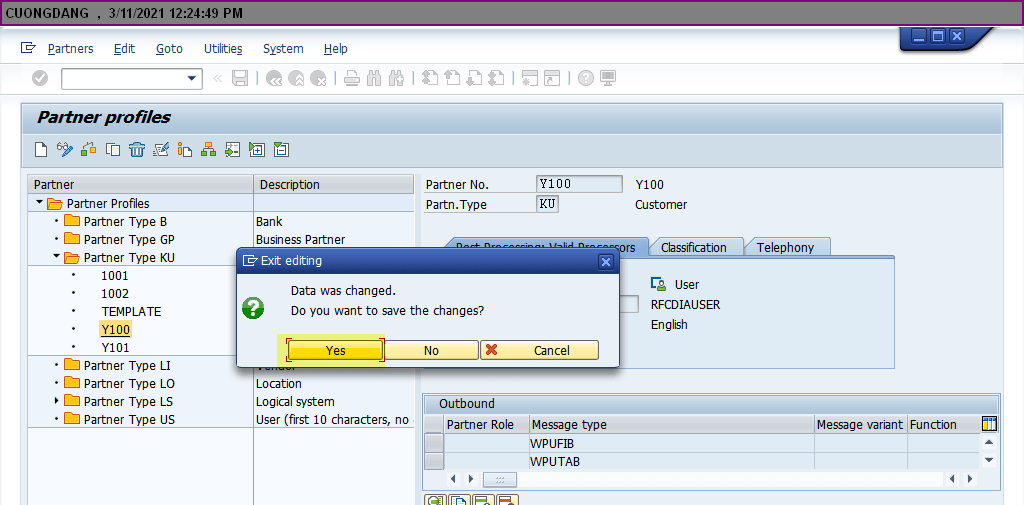
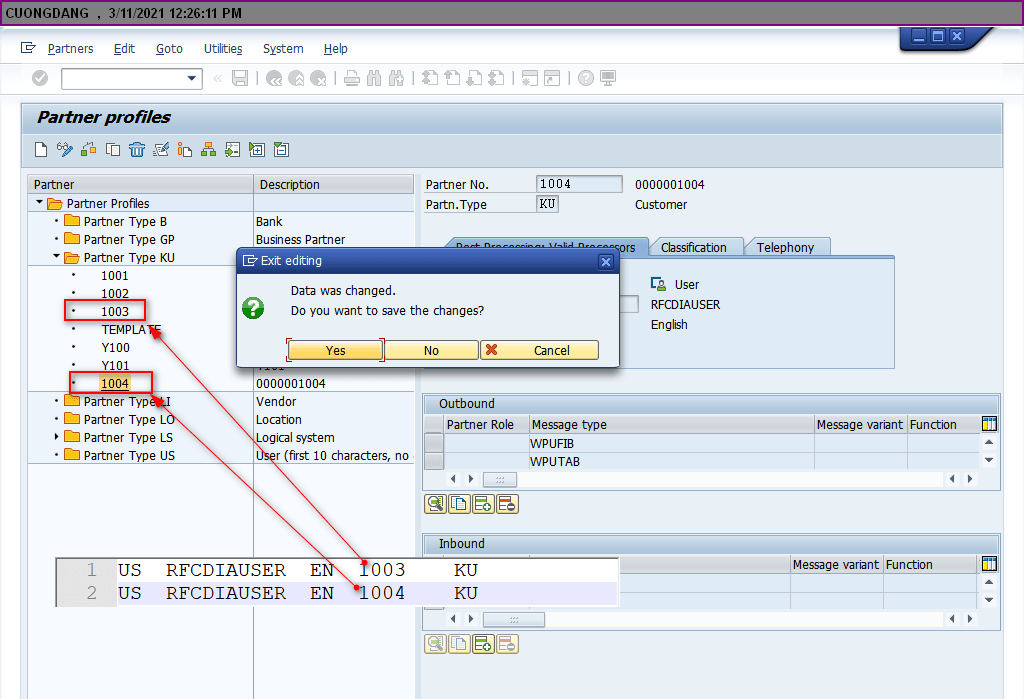
Upload process will repeat copying action what recorded in previous steps and Input data from *.txt file.

Thanks,
Cuong Dang

U r ultimate hero
LikeLike
It was very useful…
Thank You..
LikeLike