
Hello guys, in previous article I shared overview about CAP included tools and environment to develope Fiori App with CAP. In this article, I will share step by step How to create fiori app called Sales Management. This simple aplication, all sales order will be list in grid report, we can click one sale order to view details in it. We also create new one or edit exist one.
SAP CAP Overview and setup environment for CAP development – #Reference
PREREQUISITE
To finish this article, we need to complete something like this:
Setup BTP trial account

Create new subaccount with Cloud Foundry Environment – CF
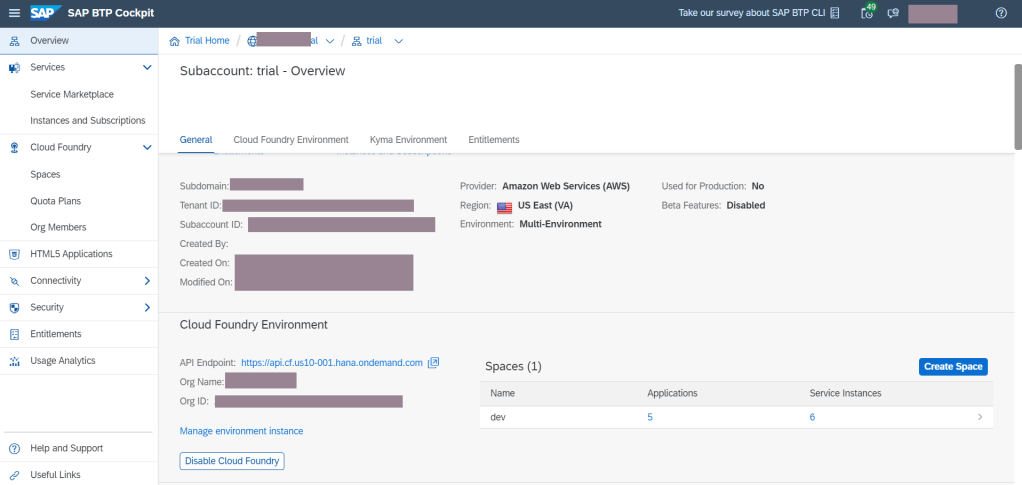
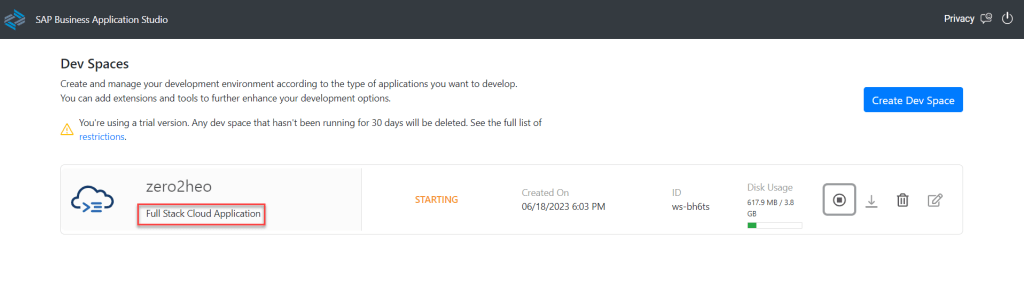
Subscription service Business Application Studio – BAS – #Reference
Create SAP HANA Database – #Reference

COMMAND LINE INTERFACE REFERENCE TABLE
| Create project CAP | cds init |
| Build packages in project | npm install npm ci |
| Run project CAP on https://localhost:4004 | cds watch |
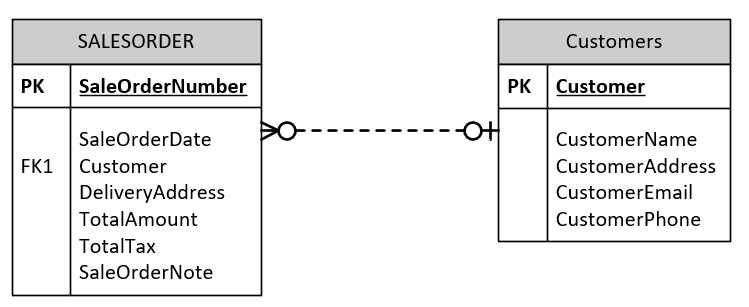
DESIGN MODEL
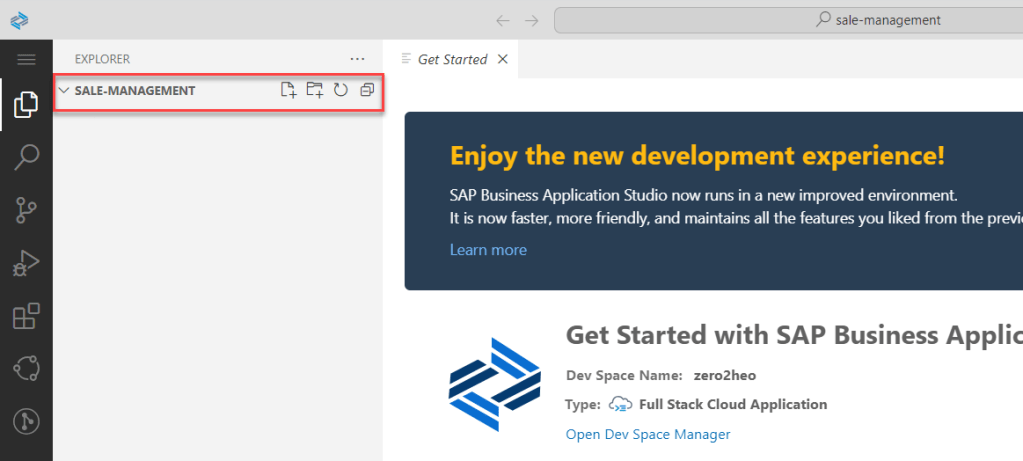
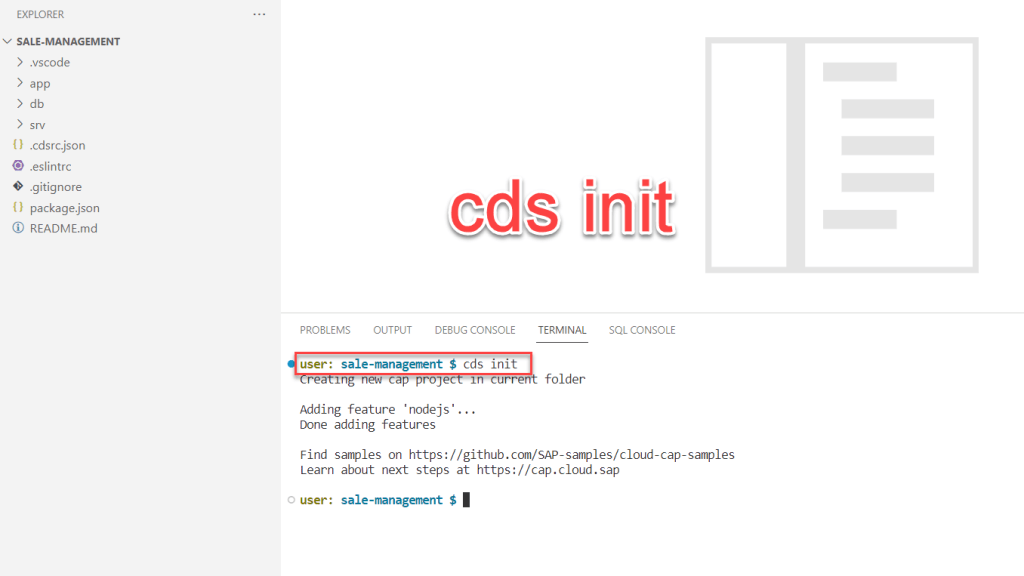
CREATE CAP PROJECT IN BAS
Go to BAS
Go to File – Open Folder


Go to folder sale-management – Open New Terminal

ADD DATA MODEL
Go to folder db of CAP Project
Create new file with extension cds. Example schema.cds
Copy code
namespace salemanagement;
using { managed } from '@sap/cds/common';

entity SalesOrder : managed {
    key SaleOrderNumber : String(10) @(Core.Computed : true);
        SaleOrderDate : Date;
        Customer :Association  to Customers;
        DeliveryAddress:String(255);
        TotalAmount:Decimal;
        TotalTax:Decimal;
        SaleOrderNote:String
 }

 entity Customers : managed {
    key CustomerId : String(10) @(Core.Computed : true);
    CustomerName : String;
    CustomerAddress : String;
    CustomerEmail : String;
    CustomerPhone:String;
    SO : Association to many SalesOrder on SO.Customer = $self;
 }

ADD SERVICE AND MOCKUP DATA
Go to folder srv of CAP Project
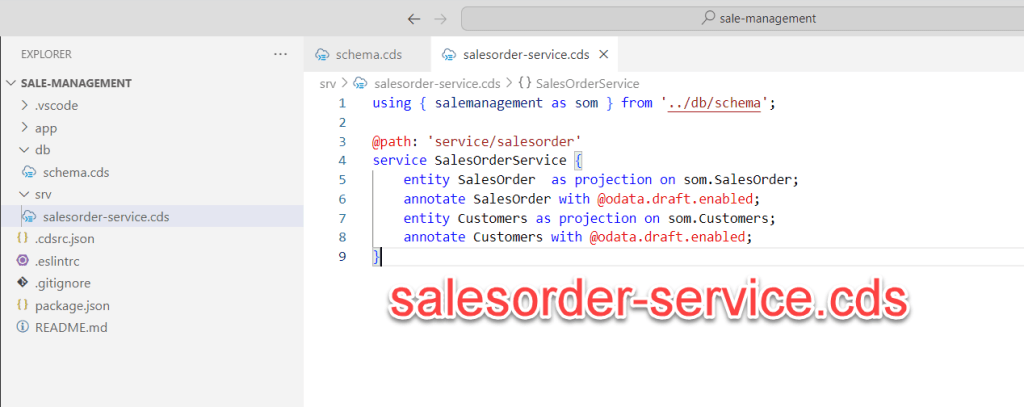
Create new file with extension cds. Example salesorder-service.cds
Copy Code
using { salemanagement as som } from '../db/schema';

@path: 'service/salesorder'
service SalesOrderService {
    entity SalesOrder  as projection on som.SalesOrder;
    annotate SalesOrder with @odata.draft.enabled;
    entity Customers as projection on som.Customers;
    annotate Customers with @odata.draft.enabled;
}
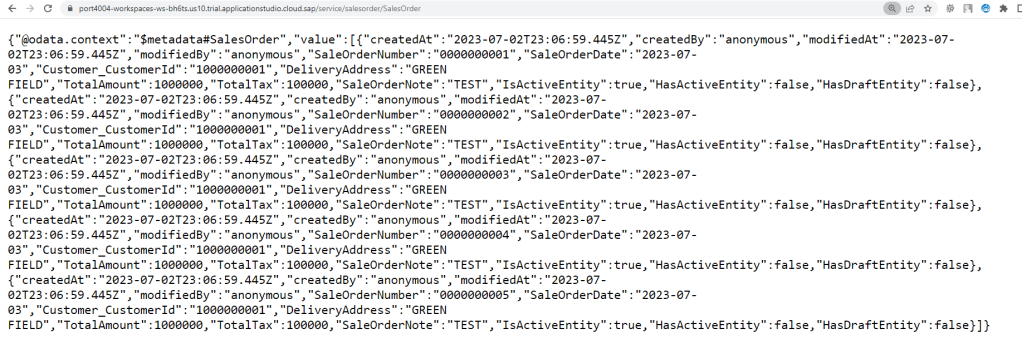
Next, we will create mockup data. Data will be in file CSV with name file convension
<namespace> – <entity name>
Create folder data in folder db of project
Create two new files salemanagement-SalesOrder.csv and salemanagement-Customers.csv
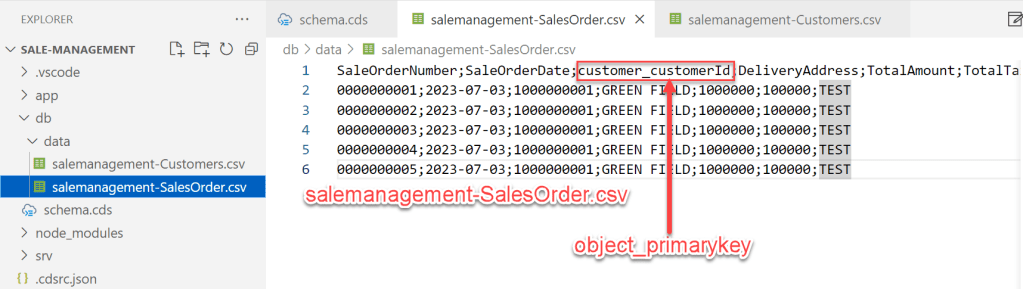
SaleOrderNumber;SaleOrderDate;customer_customerId;DeliveryAddress;TotalAmount;TotalTax;SaleOrderNote
0000000001;2023-07-03;1000000001;GREEN FIELD;1000000;100000;TEST
0000000002;2023-07-03;1000000001;GREEN FIELD;1000000;100000;TEST
0000000003;2023-07-03;1000000001;GREEN FIELD;1000000;100000;TEST
0000000004;2023-07-03;1000000001;GREEN FIELD;1000000;100000;TEST
0000000005;2023-07-03;1000000001;GREEN FIELD;1000000;100000;TEST
CustomerId;CustomerName;CustomerAddress;CustomerEmail;CustomerPhone
1000000001;zero2hero;GF;zero2hero@sap.com;0909999111
1000000002;zero2hero;GF;zero2hero@sap.com;0909999111
1000000003;zero2hero;GF;zero2hero@sap.com;0909999111
1000000004;zero2hero;GF;zero2hero@sap.com;0909999111
1000000005;zero2hero;GF;zero2hero@sap.com;0909999111
INSTALL NPM AND BUILD PROJECT
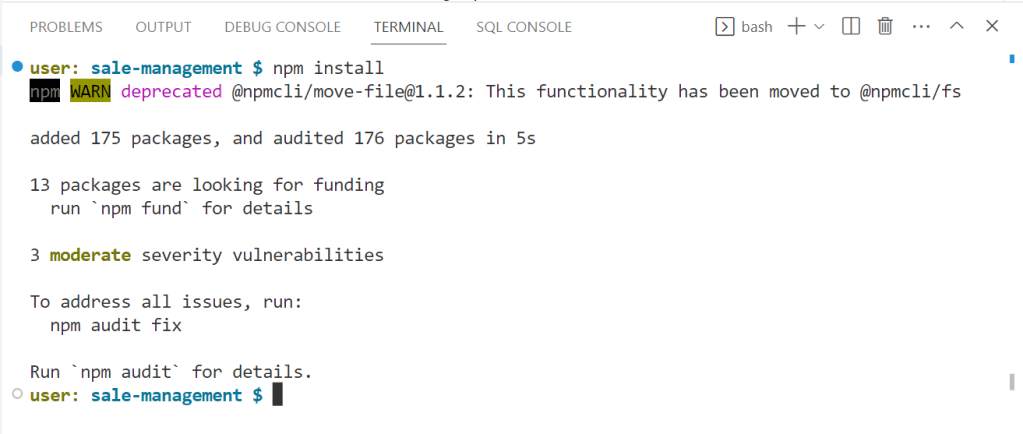
Go to View – Terminal
Run command : npm install
Run command : npm ci
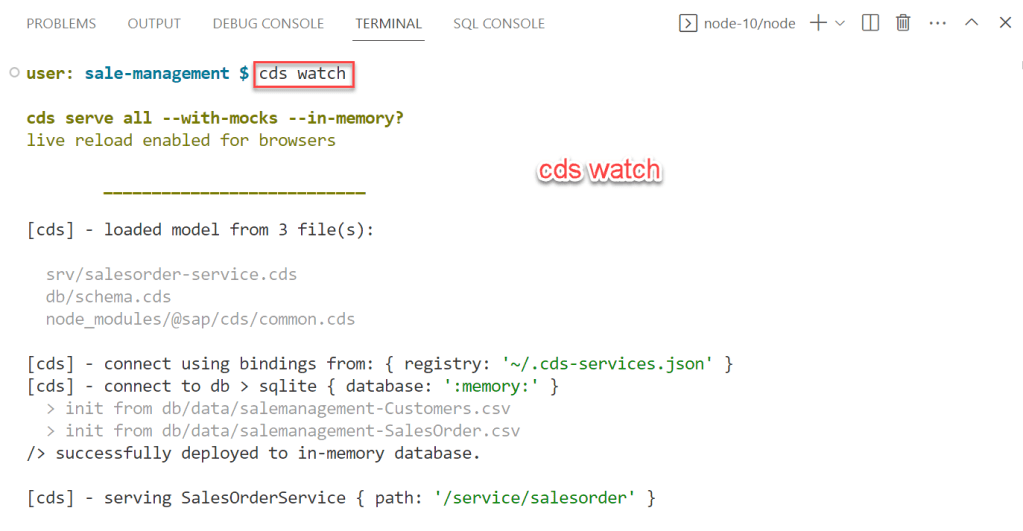
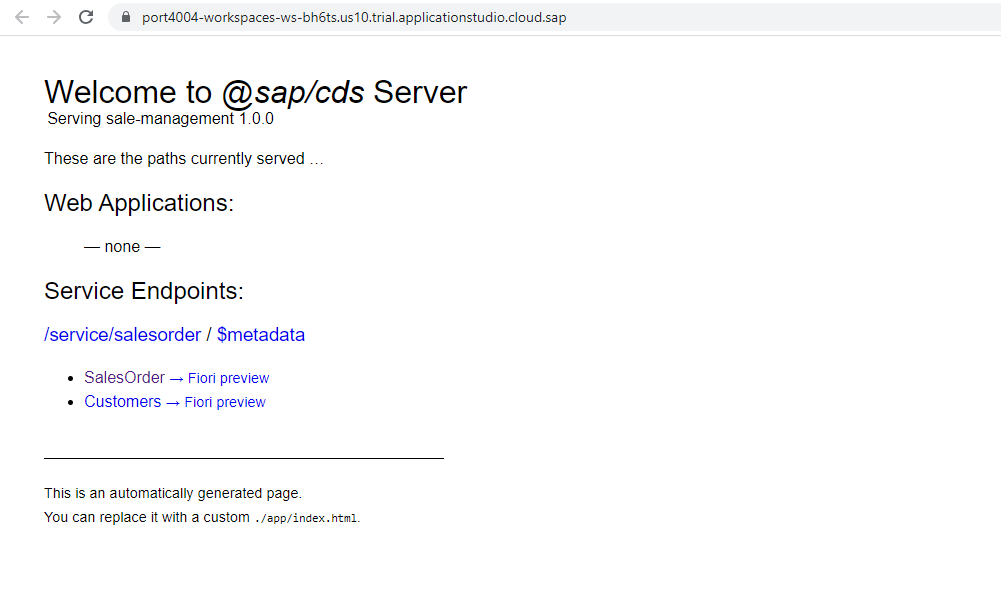
Run command : cds watch to run project CAP

SUMMARY
In this article, I shared step by step How to create CAP Project with model and service. After that, we create mockup data by CSV file and test CAP service. In next article, we will explore How to create UI for service with Fiori Element and add more business logic for service, how to call external service from api business hub as well. Thanks for your reading and any advise on this, kindly leave your comment on this.
Thanks.
Joseph.

One comment